
Browse articles
- Getting started
- Start your first project
- Model your project
- Critical path and automatic dates
- Read and rebalance the swimlanes
- Get oriented on the schedule
- Going further
- Give overhead a home with admin projects
- Structure large projects
- Baselines and versions
- Change Gantt bar colours
- Set a revenue target on the schedule
- Getting started
- How Monument models finance
- Revenue from resourcing
- Fixed fees
- Budgeting costs
- Recording expenses
- Recording revenue entries
- Going further
- Formula based pricing and construction cost
- Recurring and periodic fees
- Revenue from expenses
- Modifiers: contingencies and discounts
- Progressive billing
- Pricing templates
- Operational expenses
- Getting started
- Read your Dashboard
- Build a custom report
- Edit a saved report
- Filter a report
- Formula columns
- Freeze a report into a snapshot
- Reports on a project
- Definitions: how each figure is worked out
- Going further
- Time-Series Columns
- Organise your work with tags
- Break reports and accounting down by office
- Control access to business finances
- Control access to rates
- Control who can create projects
- Control project administration
- Control staff and team management
- Control expenses and claims
- Control report definition editing
- Control access to contacts
- Give full project control with Owner
- Manage project work without changing money
- Let project members edit tasks safely
- Share a project safely with Viewer
- Let a team lead coordinate shared work
- Share teammate profiles without management access
- Keep team members focused on their own work
Get your bearings in Monument
A tour of the navigation rail so you always know which area a piece of work lives in, plus where the timer and settings live.
What you'll achieve
Recognise every area on the navigation rail and move between them without hunting.
You'll end up with: You can name every area on the rail, move between them, and start the timer from anywhere.
Before you start
One flow, four stops
Monument looks like a lot of separate screens until you notice they trace a single line of work: you plan it, track what it costs, bill for it, and review how it went. Every area on the rail is just one of those four stages, and once that clicks, you stop wondering where something lives and start knowing.
We'll walk it inside Meridian Studio, a demo practice already fully populated, with Cedar Row Apartments among its projects underway.
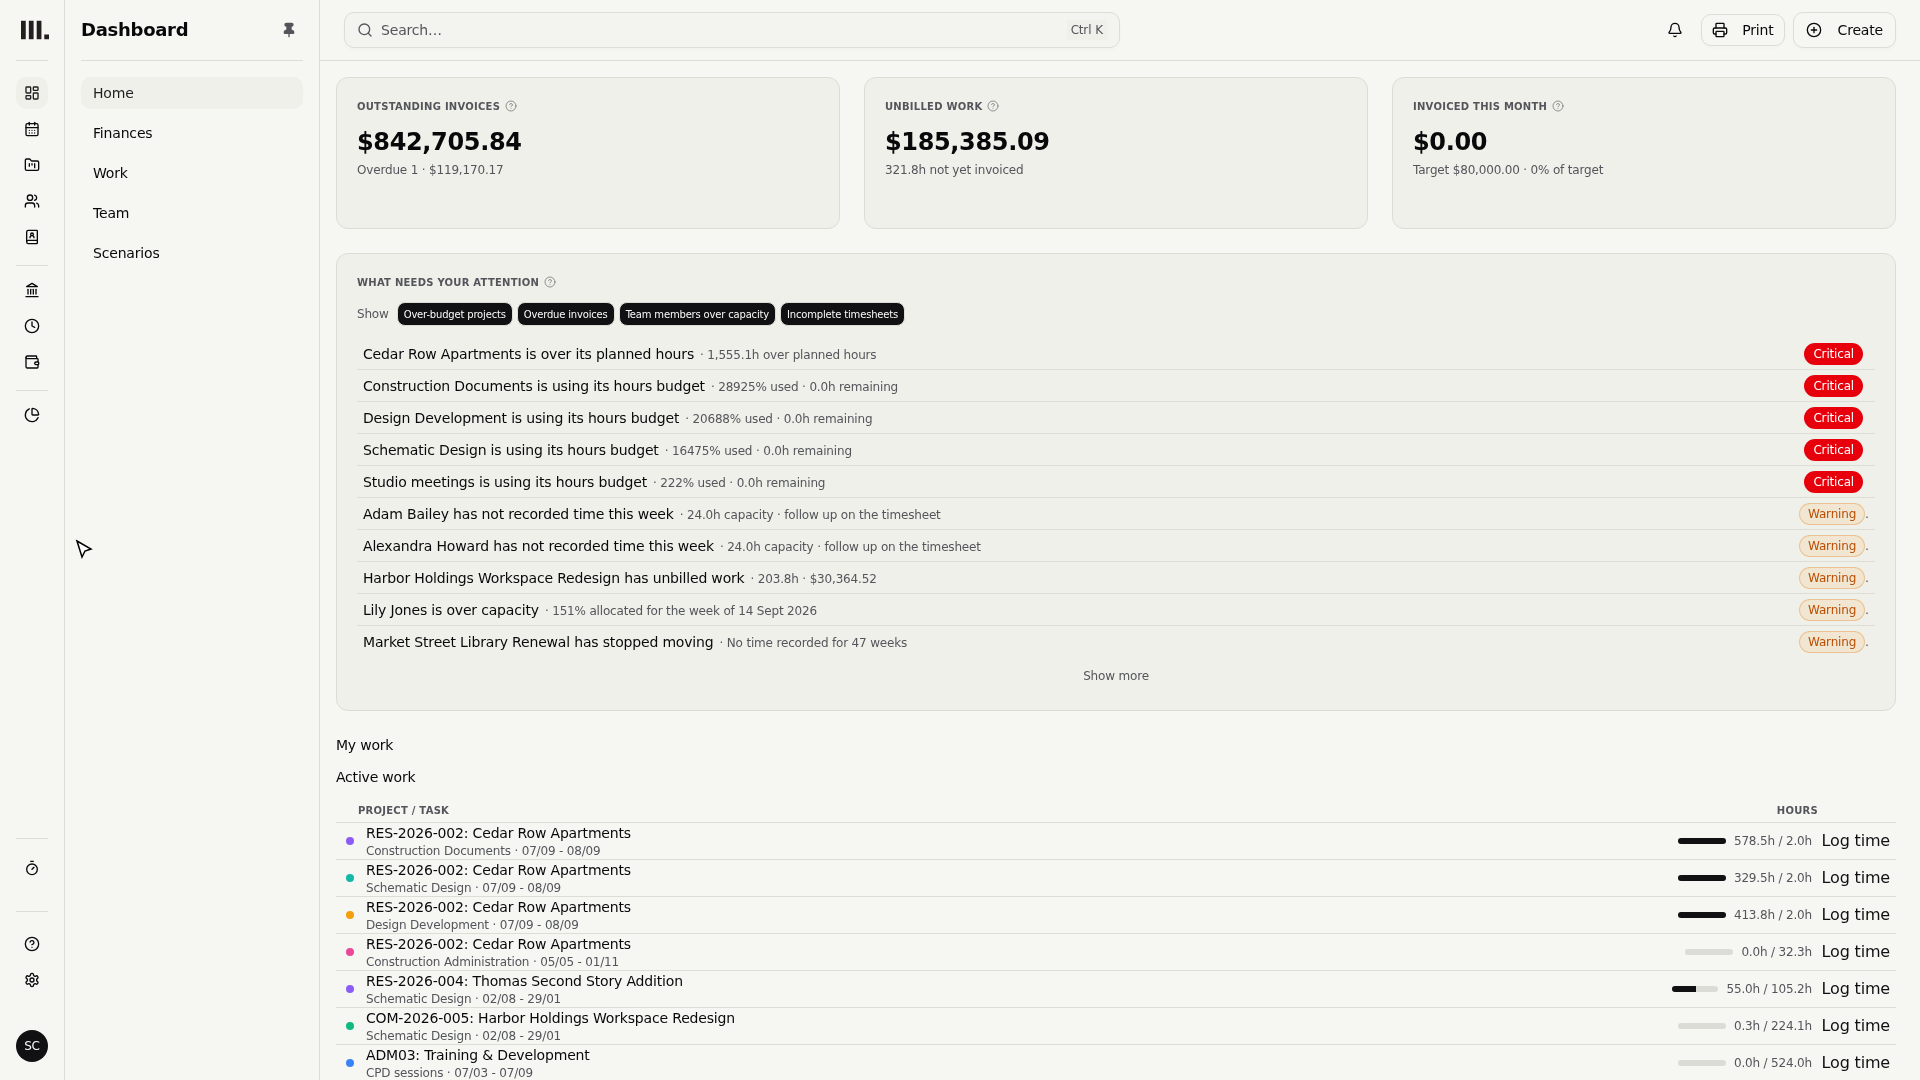
The rail, top to bottom
- 1
Schedule and Projects: the plan stage. Schedule is the timeline view where every project is created and staged; Projects is the same workload as a plain list.
- 2
Resources and Contacts: your people and the outside firms you work with.
- 3
Invoicing, Time, and Expenses: the track-and-bill stage, covering hours logged, costs recorded, and what gets billed for both.
- 4
Reports: everything above, rolled up into utilisation, revenue, and project health.
This isn't just a list, it's a dependency chain. Resourcing a project on the schedule is what generates its cost and revenue; time logged against a task is what an invoice later draws from; reports only have something worth showing once the earlier stages have data behind them. Work through the areas roughly in this order and the later ones fill themselves in.
See the same project from three angles
Cedar Row Apartments shows up differently depending on which area you're in, and seeing that is the fastest way to understand what each one is actually for.
- 1
Open the Schedule. Cedar Row Apartments is laid out here as a bar broken into its stages across the year.
- 2
Open Projects. The same commission now sits in a plain list alongside every other job the firm is running.
- 3
Open Contacts. Robert and Jennifer Thomas, the client behind Cedar Row Apartments, is filed here.
- 4
Open Invoicing. It opens a page titled Invoicing, with tabs for Invoices and Invoice templates, already holding sample invoices connected to the demo projects.
Invoicing covers Invoices and Invoice templates. Purchase orders aren't a tab here, they're under Expenses, alongside the operational costs they commit against.
The timer never makes you leave the page
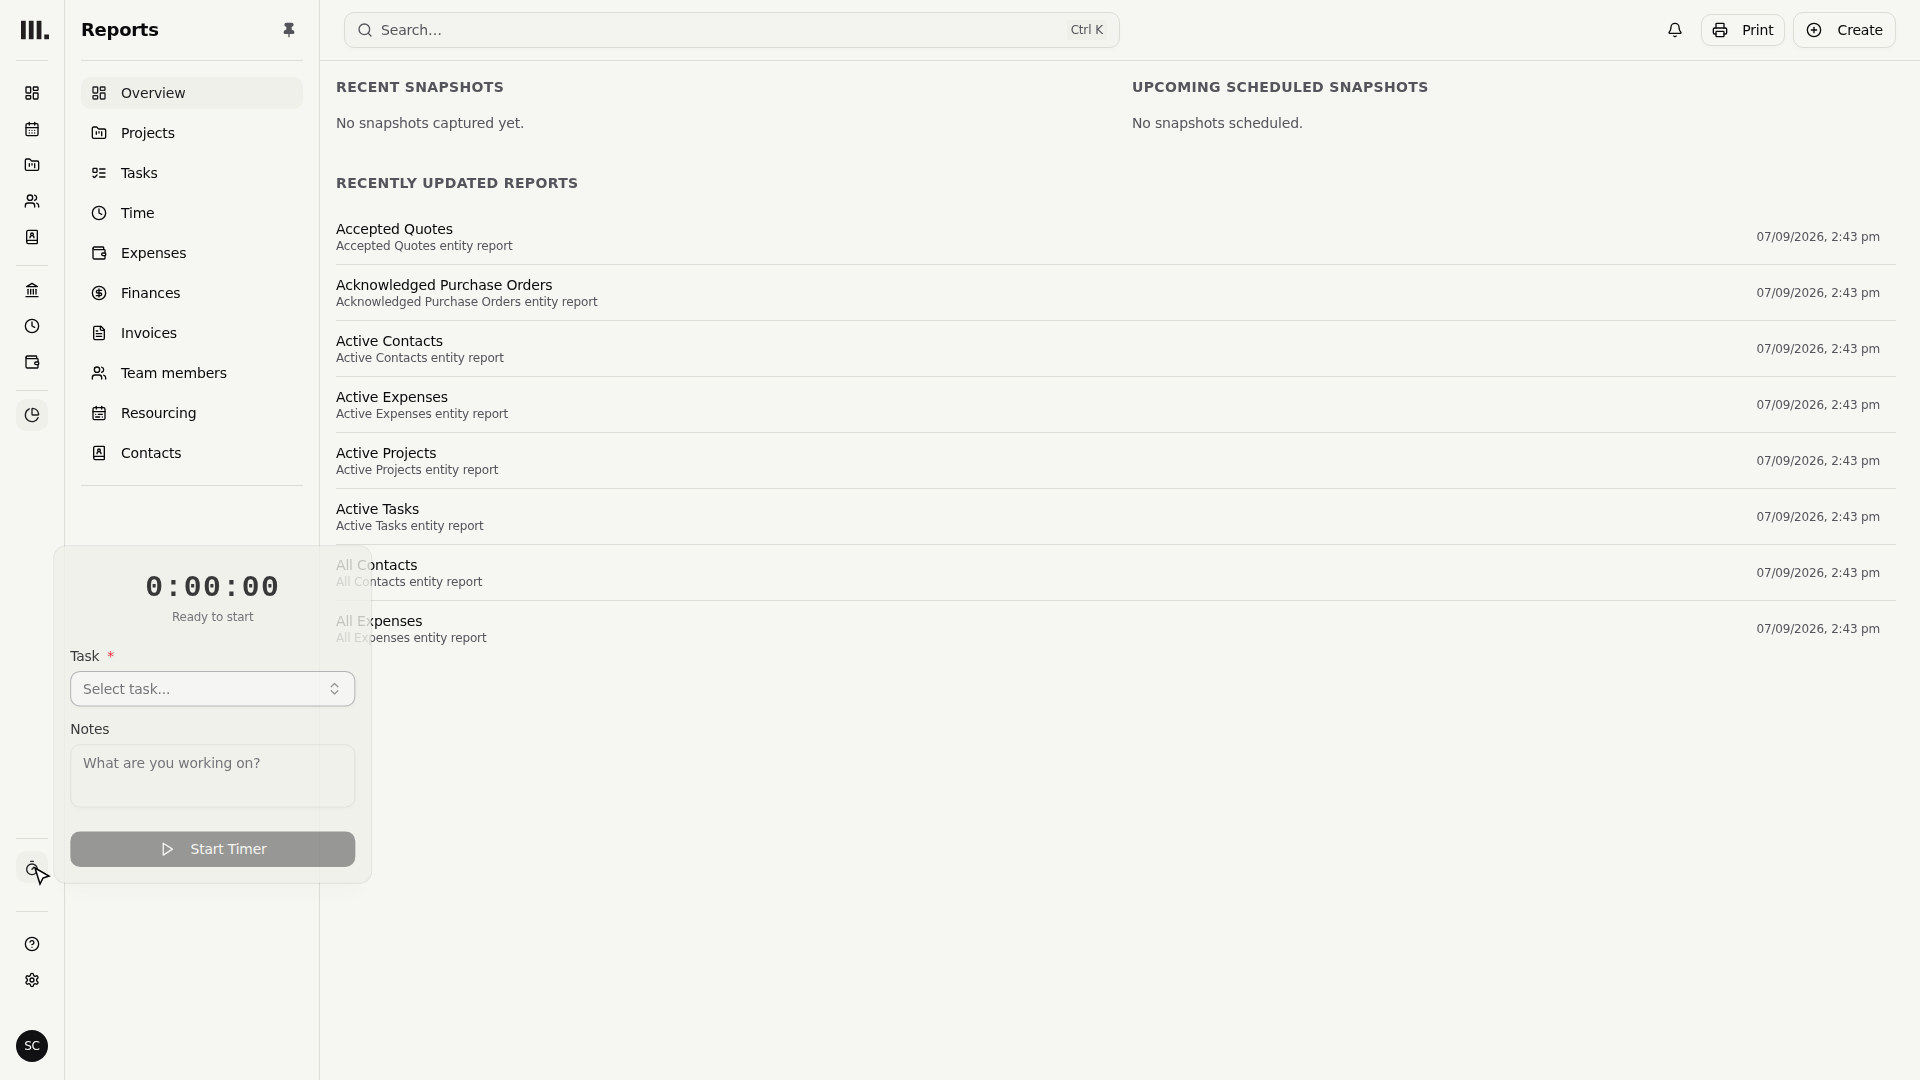
Time and Expenses are where logged hours and recorded costs land once they're entered, but you don't have to go to the Time area just to start a timer. It has its own icon on the rail precisely so you can start tracking from wherever you already are.
- 1
Click the Timer icon on the rail to open it.
- 2
Pick the task you're working on and let it run in the background while you keep working.
Because it lives on the rail rather than inside one page, the timer keeps counting no matter where you navigate to next, so switching between Cedar Row Apartments and something else never means losing the time you've already tracked.
Settings, and getting home again
Help and Settings sit at the very bottom of the rail, separate from the four work areas above them because they're not about any one project, they're about how the whole firm is configured. This tour only points out where Settings lives; the organisation setup walkthrough covers what to actually do inside it. Dashboard sits at the very top instead, as home base, one click back to a firm-wide view whenever you've drilled into something specific. Its four tabs are Home, Finances, Work, and Team, and Read your dashboard covers each one. To save and compare forecasts, use the scenario picker in Revenue forecast.
Troubleshooting
- Resources, Invoicing, or Expenses missing from your rail? Those areas are permission-gated. If one isn't showing up, your role doesn't include it yet, and an admin can grant it.
- Can't find Purchase Orders under Invoicing? It moved to Expenses, next to the operational costs a purchase order commits against.
- Timer feels like it vanished after you navigated away? It hasn't, it's still running; it only shows its full controls when you reopen it from the rail.
Where this fits next
You can find your way around now. Next in this series: invite your team, so your colleagues can start logging their own time. Once they're in, put the rest to use: start a project on the schedule, log time on the calendar, or head into organisation setup to configure the firm.
Search Monument help
Search help articles and open a result.